प्रिंटर को वास्तव में Purge Print की ज़रूरत कब होती है?
“purge sheet” उपयोगकर्ता के लिए एक आसान शब्द है, लेकिन ज़्यादातर printer manuals आधिकारिक नाम इस्तेमाल करते हैं, जैसे Nozzle Check, Print Head Cleaning, Deep Cleaning, Power Cleaning, Special Cleaning, Ink Flush, या Align Printheads.
यह पेज उन guide terms को एक सरल और जल्दी समझ आने वाली purge guide में बदलता है।
Heavy clean करने से पहले built-in nozzle / diagnostic page प्रिंट करें।
एक रंग गायब होना, हल्का black, हल्की banding, या ऐसा printer जो लंबे समय तक unused रहा हो।
Power Cleaning, Deep Cleaning, Special Cleaning और Ink Flush में noticeably ज़्यादा ink लगती है।
यह पेज inkjet printers के लिए है। Laser printers toner का उपयोग करते हैं, इसलिए purge-ink pages वहाँ सही समाधान नहीं हैं।
त्वरित मार्ग
- Nozzle / print-quality check page प्रिंट करें।
- लक्षण को printer की अपनी maintenance terminology से मिलाएँ।
- कमज़ोर channel के लिए केवल matching purge sheet का उपयोग करें, फिर यदि guide सलाह दे तो अगले built-in cleaning step पर जाएँ।
प्रिंटर के प्रकार के अनुसार guides क्या कहती हैं
| ब्रांड | प्रिंटर / सीरीज़ | Guide term | क्या कभी-कभार purge / cleaning की सलाह है? | Guide क्या कहती है | नोट्स |
|---|---|---|---|---|---|
| Epson | EcoTank ET-2850 | Nozzle Check / Print Head Cleaning / Power Cleaning | हाँ | Nozzle check से शुरू करें। यदि pattern में gaps हों, तो print head cleaning चलाएँ। यदि कई cleanings के बाद भी मदद न मिले, तो Power Cleaning पर जाएँ और उस heavy cycle को फिर से चलाने से पहले सुझाया गया wait time मानें। |
Epson चेतावनी देता है कि Power Cleaning बहुत ink इस्तेमाल करती है, tank levels पर्याप्त होने चाहिए, और ink-pad life कम हो सकती है। Official manual · Power Cleaning guide |
| Canon | PIXMA G3270 (G3070 series manual) | Cleaning / Deep Print Head Cleaning / Replace Ink in Print Head | हाँ | अगर nozzle check खराब दिखे, तो standard cleaning से शुरू करें। यदि उससे समस्या हल न हो, तो deep cleaning पर जाएँ, और अगर समस्या फिर भी रहे तो heavier ink-replacement / ink-flush stage तक जाएँ। |
Canon की G-series guidance नियमित printing की भी सलाह देती है ताकि image issues कम हों। Deeper maintenance steps ज़्यादा ink खाती हैं और maintenance cartridge capacity की ज़रूरत होती है। G3270 operation-panel guide · G3070 troubleshooting flow |
| Canon | PIXMA G3020 series | Cleaning the Print Head / Deep Cleaning / Ink Flush | हाँ | Missing lines या streaks के लिए केवल ज़रूरत होने पर clean करें। यदि deeper cleaning के बाद भी मदद न मिले, तो Canon आगे चलकर Ink Flush को later-stage maintenance action के रूप में उपयोग करता है। | Ink Flush बहुत ज़्यादा ink इस्तेमाल करता है और इसे casually नहीं चलाना चाहिए, खासकर जब ink कम बची हो। Cleaning guide · Ink Flush troubleshooting guide |
| Brother | MFC-J4335DW | Print Head Cleaning / Special Cleaning | हाँ | जब print quality गिरने लगे, तो manual cleaning शुरू करें। Guide यह भी बताती है कि printer ज़रूरत पड़ने पर print head को अपने-आप साफ करता है। | Special Cleaning एक heavier step है और बहुत ink उपयोग करती है, इसलिए यह routine use की बजाय stubborn cases के लिए है। Official guide |
| Brother | MFC-J1010DW | Print Head Cleaning (Black only / Colour only / All) | हाँ | Brother कहता है कि printer ज़रूरत पड़ने पर खुद को automatically clean करता है, लेकिन quality problems आने पर आप head को manually भी साफ कर सकते हैं। यह model केवल black, केवल colour, या सभी channels को target कर सकता है। |
यह ऐसा प्रिंटर का अच्छा उदाहरण है जहाँ single-color purge page तब उपयोगी होती है जब केवल एक channel कमजोर हो। Auto / manual cleaning guide · Cleaning strength options |
| HP | Smart Tank 7301 / 7300 series | Clean the Printheads / Align Printheads | हाँ | Printer के print-quality tools का उपयोग करें और जब black या color ink सही तरह प्रिंट न हो रही हो, तब printheads साफ़ करें। Alignment, HP की सामान्य maintenance path का हिस्सा है। | HP अगला cleaning cycle चलाने से पहले wait करने की सलाह देता है, इसलिए “print, test, फिर decide करें” यहाँ खास तौर पर महत्वपूर्ण है। Print-quality cleaning guide · 7300-series printhead guide |
| HP | OfficeJet Pro 9010 / 9020 series | Clean Printhead / Align Printheads | हाँ | यदि black या color output खराब है, तो HP built-in clean routine चलाने का निर्देश देता है। बुरी तरह clogged heads के लिए एक और cycle की आवश्यकता हो सकती है। | HP साफ़ तौर पर कहता है कि full cleaning sequence को दोहराने से पहले इंतज़ार करें, इसलिए back-to-back cleaning करना सबसे अच्छा पहला कदम नहीं है। Official guide |
व्यवहार में इसका मतलब क्या है
आमतौर पर सबसे साफ़ “पहले test, heavy clean बाद में” workflow देता है। Nozzle check के बाद targeted purge printing के लिए बेहतरीन उम्मीदवार।
मजबूत escalation path: Cleaning → Deep Cleaning → Ink Flush / Replace Ink in Print Head। यह याद दिलाता है कि सबसे भारी step पर बहुत जल्दी नहीं कूदना चाहिए।
अक्सर background में auto-clean करता है। Manual cleaning दिखाई देने वाली problems के लिए होती है, और stronger options ज़्यादा ink इस्तेमाल करती हैं।
इसे diagnostics, cleaning, फिर alignment के क्रम में सोचें। Cleanings को बहुत तेज़ी से stack करने की बजाय printer को cycles के बीच समय दें।
Purge sheets को built-in tools के साथ उपयोग करें, उनकी जगह नहीं
- अगर आपको यक़ीन नहीं कि समस्या cyan, magenta, yellow या black में है, तो general guided purge walkthrough से शुरू करें।
- यदि सिर्फ़ एक channel कमजोर है, तो पहले matching single-color sheet प्रिंट करें, बजाय एक साथ सभी channels को चलाने के।
- अगर manufacturer guide heavy cleaning step के बाद wait करने को कहती है, तो सचमुच wait करें। यही अक्सर recovery और wasted ink के बीच अंतर होता है।
- यदि बार-बार cleaning करने पर भी nozzle / diagnostic pattern नहीं बदलता, तो समस्या सामान्य purge printing से आगे की हो सकती है।
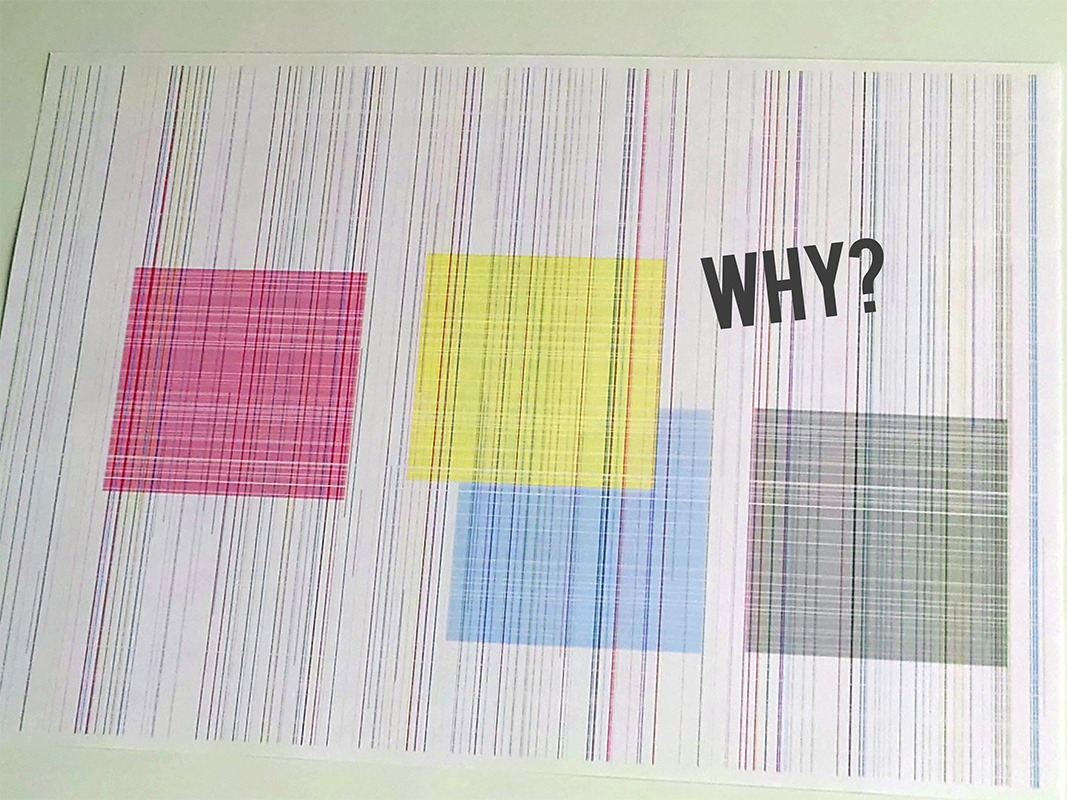
प्रभावित स्याही के अनुसार purge शीट चुनें
समझ नहीं आ रहा कि पहले कौन-सी प्रिंट करें? मार्गदर्शित Purge Print पेज से शुरू करें, फिर उसी रंग की शीट पर वापस आएँ।
प्रिंटर में इस्तेमाल हुए शब्दों को देखें
- Epson: Nozzle Check → Print Head Cleaning → Power Cleaning
- Canon: Nozzle Check → Cleaning → Deep Cleaning → Ink Flush / Replace Ink in Print Head
- Brother: Print Quality Check → Print Head Cleaning → Special / Strong Cleaning
- HP: Print Quality Diagnostic Page → Clean Printheads → Align Printheads
रुकें और फिर से जाँचें अगर प्रिंटर लंबा इंतज़ार माँगे, प्रिंटहेड / मेंटेनेंस एरर दिखाए, या heavy-clean स्टेप के बाद nozzle pattern बिल्कुल न बदले।

Purge to Fix
Printing a purge sheet can restore print quality and eliminate the need for a professional service visit. This DIY maintenance routine is highly effective for clearing clogged nozzles and dried ink buildup that causes horizontal banding or missing colors. While not a 100% fix for mechanical failure, it is the best first step for ink flow issues.
